Learn how prototype CNC milling brings your product ideas to life faster and more accurately. Discover processes, standards, applications, and best practices to master modern prototyping.
1. Introduction
Have you ever needed to produce a physical part quickly before full production begins? That’s where prototype CNC milling comes in handy. Think of it as creating a working draft of your product — a chance to test and refine your design before committing to mass production.
This approach saves both time and money. By catching potential issues early, you can avoid costly redesigns or tooling changes later. It’s like trying on clothes before buying — you want to ensure everything fits perfectly.
In this complete guide, we’ll explore how this technology works, why it’s important, and how to apply it effectively. Whether you’re a product designer, engineer, or entrepreneur, this step-by-step guide will help you make smarter prototyping decisions.
2. Choosing the Right Provider
2.1 Quality Standards Explained
Industry standards ensure consistent quality and precision in prototyping. They act like a recipe in manufacturing — when everyone follows the same guidelines, the results are predictable and reliable. These benchmarks define aspects such as dimensional accuracy, surface roughness, and material properties.
For instance, ISO and ASME standards guide how parts should be measured, tested, and inspected. Following them guarantees that components from different suppliers will fit and function together perfectly. Without proper adherence, you risk misaligned parts, poor assembly, and wasted material.
Imagine designing a small gear for a robotics project. If your provider follows established standards, every tooth on that gear will mesh smoothly with others. The end result? A flawless mechanism that performs as intended — no grinding, no friction, just precision.
2.2 How the Process Works
The milling process begins with a digital 3D model. Engineers use CAD (Computer-Aided Design) software to create the design, which is then converted into CAM (Computer-Aided Manufacturing) data — a language the machine can understand.
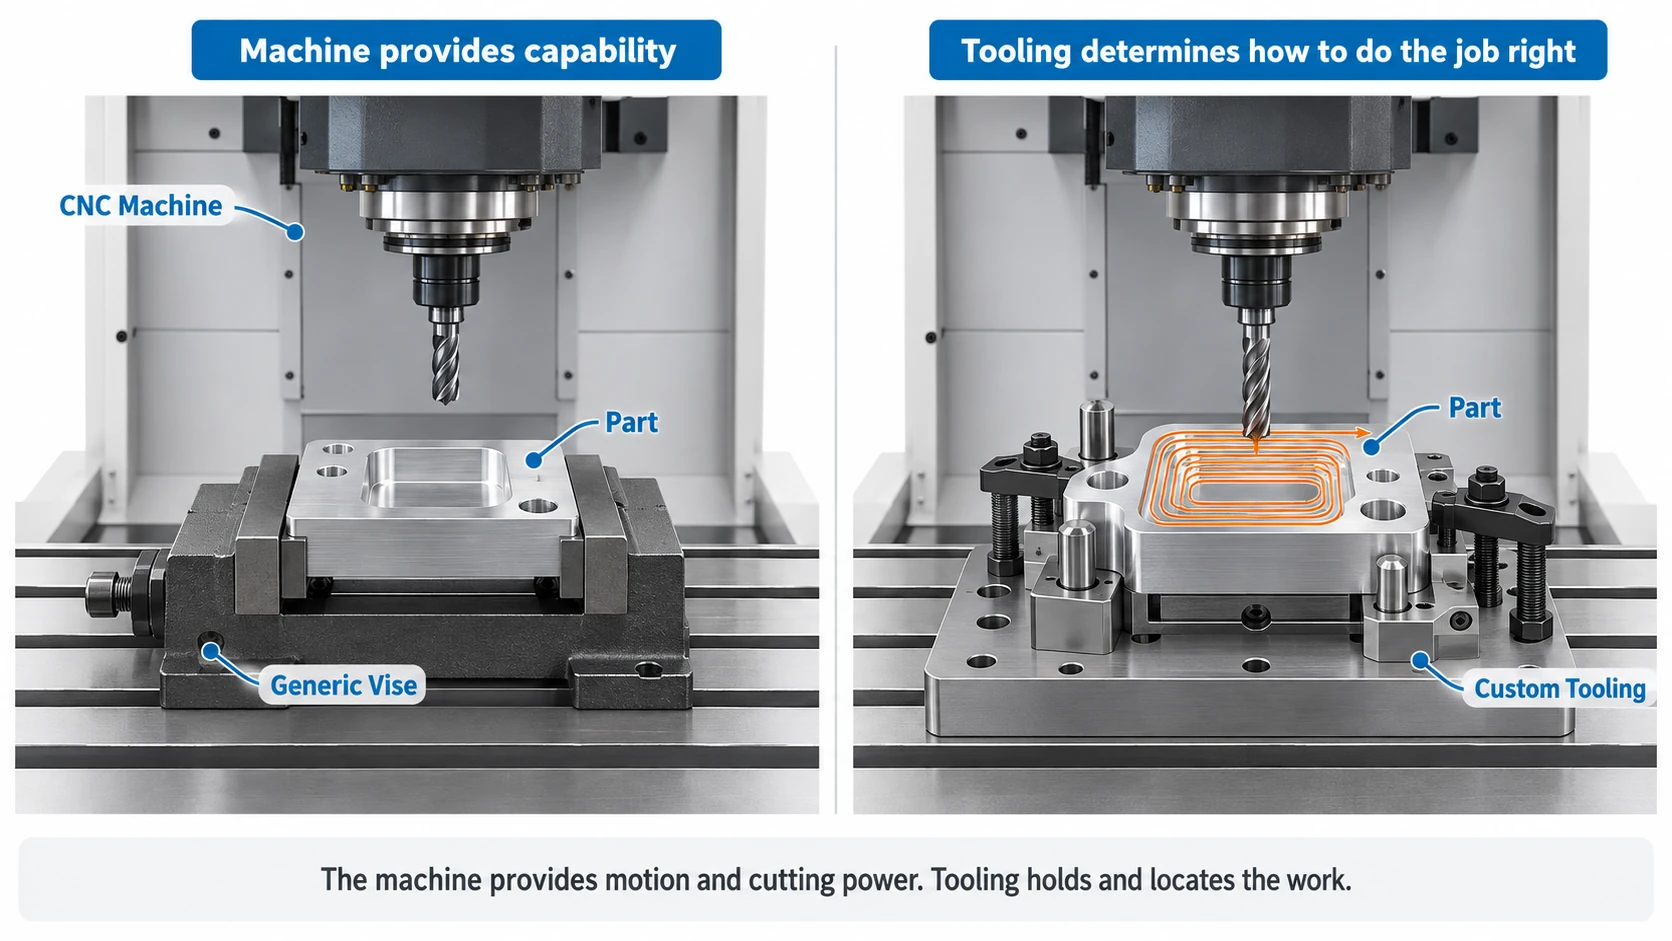
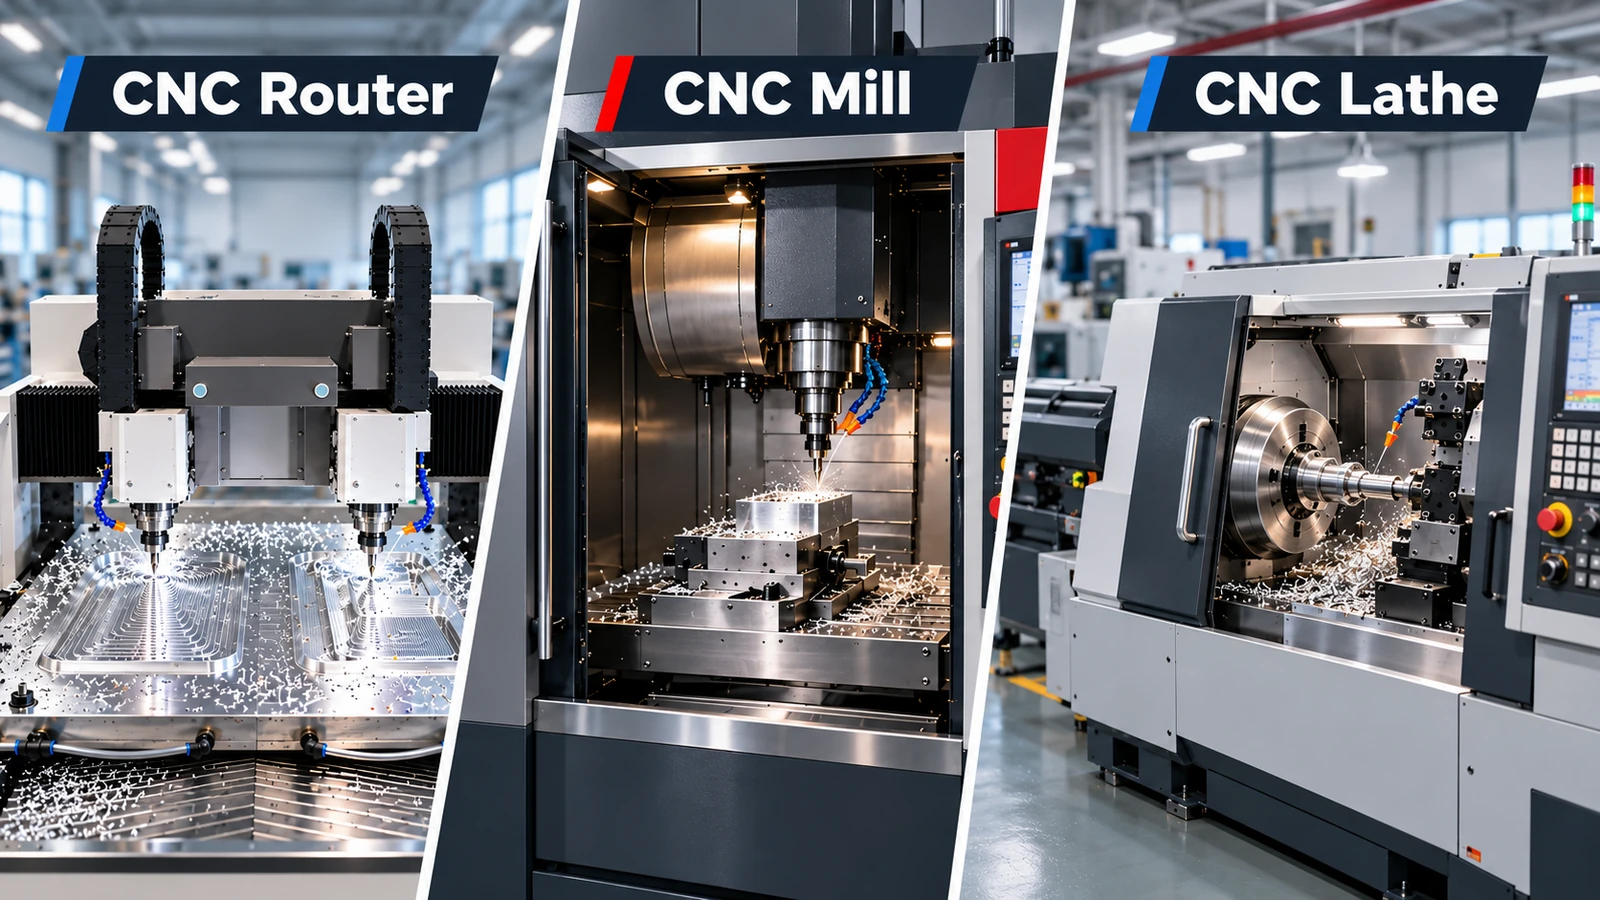
Next, the equipment starts with a solid block of material — metal, plastic, or even wood — and cuts away layer by layer. Controlled by precise G-code instructions, the tool moves across multiple axes to form your part.
For example, let’s say you’re designing a new smartwatch casing. The design is uploaded, and the machine carves out a detailed aluminum housing in just a few hours. You can hold it, test it, and even make small design tweaks before mass production. This instant feedback cycle is what makes prototyping invaluable.
3. Available Services
3.1 Defining Your Needs
To achieve accurate results, clear communication of your project requirements is essential. Think of it as giving directions to a craftsman — the more specific you are, the better the outcome.
Critical details include material type, dimensions, tolerances, surface finish, and functional needs. For example, if your prototype must withstand heat or stress, your provider needs that information upfront to choose the right cutting tools and speeds.
Let’s consider a drone bracket prototype. You’d specify that it’s made of aluminum alloy, supports 1.5 kg, and has mounting holes within ±0.02 mm tolerance. These clear requirements ensure your prototype fits seamlessly when assembled with other components.
3.2 Industry Use Cases
This technology finds applications across nearly every sector. In automotive design, it’s used to prototype engine parts and dashboard components. In aerospace, it’s used to test aerodynamic surfaces. Medical companies use it to create precise tools and implant prototypes. Even consumer electronics rely on these methods for phone cases and circuit housings.
One practical case: A bicycle company uses this approach to test new brake lever designs. They can evaluate comfort, strength, and functionality before finalizing the model. This strategy saves thousands in tooling and prevents design flaws from reaching the market.
4. Ensuring Reliability
4.1 Technical Specifications
When selecting a trusted supplier, pay close attention to technical specifications. Key parameters include spindle speed (measured in RPM), positional accuracy, tool capacity, and machine travel distance. Higher spindle speeds enable smoother finishes and faster production.
For example, if your part demands tiny features such as watch gears or micro-lenses, choose a provider with micro-milling capabilities and precision under 5 microns. These specs directly impact surface quality, fit, and performance of your final prototype.
5. Achieving Accuracy
Precision is what sets professional milling apart. Every successful prototype depends on machine calibration, tool sharpness, and operator expertise. A skilled machinist constantly checks for accuracy, ensuring the final piece mirrors your CAD design perfectly.
Imagine crafting a medical implant. Even a 0.01 mm deviation could affect patient safety. Precision manufacturing ensures the implant matches human anatomy flawlessly, supporting both comfort and functionality.
6. Tailored Solutions
Custom milling brings full flexibility to your projects. Instead of being limited to standard dimensions, you can design parts that meet unique specifications. This customization supports innovation — ideal for startups testing bold ideas or manufacturers improving existing products.
Take, for instance, a specialized camera mount for outdoor photography. It requires special angles, screw patterns, and lightweight material. Custom fabrication makes that possible — crafting a perfectly fitted mount no other off-the-shelf product could match.
7. Best Practices & Implementation Advice
To make the most of this technology, follow these proven strategies:
- Start with a detailed 3D model and verify measurements twice before cutting.
- Select appropriate materials for your prototype’s purpose — balance strength and cost.
- Communicate expectations clearly with your provider, including tolerance ranges and finishing needs.
- Review early samples carefully and provide feedback for continuous improvement.
Here’s an example: A robotics startup used this method to build custom joints. After testing their first version, they discovered a design flaw. Instead of scrapping everything, they revised the CAD model, reproduced the parts, and perfected their design within days — all thanks to the flexibility of modern prototyping.
8. Conclusion & Future Outlook
Modern prototyping has transformed product development. It empowers engineers to validate ideas faster, cut down risks, and achieve higher design precision. What once took months can now be completed in days, opening new possibilities for innovation.
Looking ahead, we’ll see smarter systems that integrate AI-assisted design checks, advanced materials, and hybrid manufacturing. This means faster cycles, lower costs, and greater accessibility for small businesses.
If you’re new to this process, start small. Experiment with simple designs, learn the workflow, and partner with an experienced provider. The more you practice, the more you’ll realize that this technology isn’t just about machining — it’s about turning imagination into precision reality.